The things we do for love: part 1

It only took one bad cold, one week on the sofa and 4 seasons of Buffy, but the armbands on Steven’s cashmere jumper are finally done.

Mended cashmere jumper

Lots and lots of 1×1 rib at a very, very small gauge got very, very boring but I’m really pleased with the results.

Mended cashmere jumper

I ended up doing twice as much ribbing as I had originally planned. A single layer seemed a little flimsy so I knitted out to twice the required length, folded the bands over and sewed them down. Rather than casting off and then sewing the cast-off edge down, I just sewed the final row of stitches down from straight off the needle, which saved a lot of time and gave a much neater finish.

Mended cashmere jumper

I am thinking of putting together a tutorial on how I worked the edging but it will need to wait until I am feeling better!

Make-do and mend – recycling a knitted jumper

Steven discovered recently that two of the smart (shop-bought) jumpers he owns have holes in the elbows.We didn’t spot them until they were well past my darning abilities and I was loth to darn them anyway because both jumpers have a hole in exactly the same place, meaning that any repair would probably wear through again quite quickly.

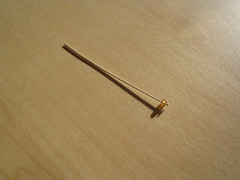
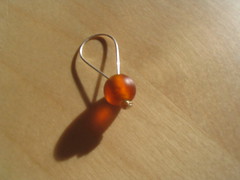
Steven wasn’t particularly keen on my idea of sewing suede patches on, explaining that even when he was a physicist working at a university he didn’t wear jumpers with elbow patches, but did suggest that I could unravel the jumpers and re-use the yarn. As can be seen from the label in the picture below, this was a very appealing idea.

Label showing '100% cashmere'

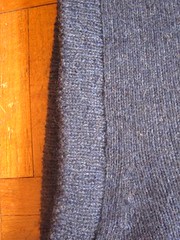
The first step to recycling a jumper to reclaim the yarn is to check the seams. Machine-made jumpers can be manufactured in two different ways. The first is the same as hand-knitting; the pieces are knitted to the appropriate size and shape, and then sewn together — this is ideal for unraveling as you will end up with a single, continuous length of yarn. The second is known as “cut-and-sew”. The fabric is knitted in a single large piece and then the pieces are cut out and sewn together. Unraveling a jumper made this way will result in a lot of short, individual pieces of yarn, which aren’t much good for anything. (Depending on the fibre, you could still recycling these jumpers by felting.)

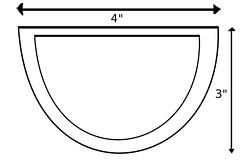
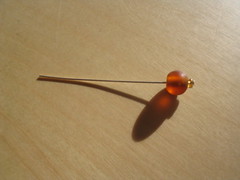
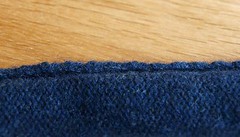
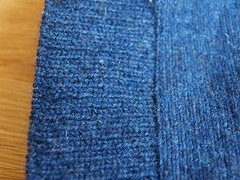
The picture below is my attempt to show you what a “good” seam for unraveling looks like; it might be better to take a close look at some hand-knitted garments to get the idea.

Recycling a cashmere jumper

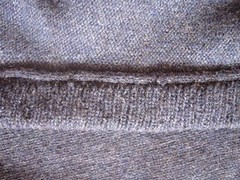
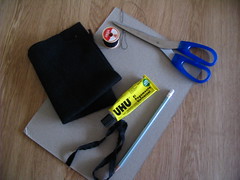
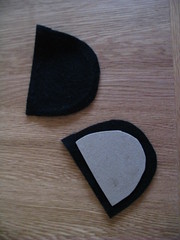
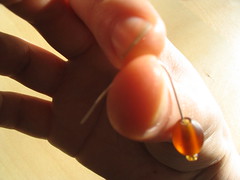
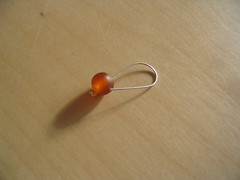
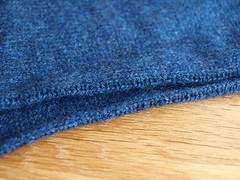
The next step is to unpick the seams; a sharp seam-ripper is useful but be careful not to accidentally cut the knitted fabric. The pictures below show the under-arm section of the body and the sleeve with the hole after it had been removed.

Recycling a cashmere jumper

Recycling a cashmere jumper

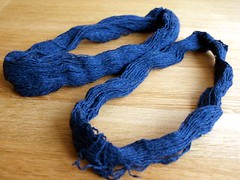
After unraveling, I washed and dried the yarn to get the kinks out. I had wound the into balls as I was unraveling but wound these into hanks for washing and drying. I hung the hanks to dry and hung weights from the bottom to stretch them slightly to straighten the yarn.

Recycling a cashmere jumper

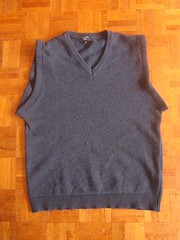
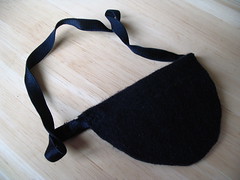
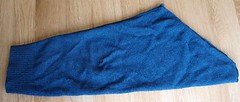
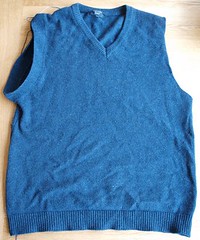
It occurred to me after I had removed the sleeves (and fortunately before I had unraveled anything else) that the rest of the  jumper was still in great condition and that it could work well as a tank top, if I knitted some bands around the armholes. Now that I had a large quantity of matching yarn, I experimented a little with needle sizes and stitches, picked up a lot of stitches round the armhole and started knitting.

Recycling a cashmere jumper

I’m really pleased with the results; but K1P1 rib takes a very long time with such fine yarn on 2mm needles. Hopefully it will be finished by the autumn since it’s too warm to wear it just now anyway.

Recycling a cashmere jumper

The best bit is that, even when the armbands on this jumper are knitted, I still have another jumper to unravel (it has a round neck so can’t be turned into a tank top) plus nearly 100g of yarn from the sleeves on this one. That’s enough laceweight cashmere to keep anyone happy for quite a while!

How-to: Make a pirate eye-patch

You will need:

  • black felt (2 4″ squares or 1 piece 4″×8″)
  • black elastic
  • thin cardboard (1 4″ square)
  • scissors
  • pencil
  • needle and black thread
  • craft glue

Eye-patch materials

Using the outer line on the template below, cut out two identical pieces of felt. (Tip: double your felt and cut through two thicknesses at once to get them as similar as possible.)

patch_template

(Clicking the template will take you to Flickr where you can download the larger size for easy printing.)

Using the inner line, cut out a single piece of cardboard.

Eye-patch in progress

Sew your elastic to one of the felt pieces, making sure not to twist the elastic before attaching the second end. Back-stitching in the shape shown in the diagram should be nice and strong.

patch schematic

Glue the cardboard to the centre of the felt piece that has the elastic attached and then glue the second piece of felt over the top making sure that the elastic is sandwiched between the two pieces of felt. You may want to add extra glue where the elastic has been sewn to the felt.

Once the glue is dry, your patch is complete. If you would like a neater edge around your patch, you could add blanket stitch all the way around.

Aarrrhhh!

Pirate eye-patch

How-to: Make beaded stitch-markers

You will need:

  • Beads (I used 2 glass beads and two seed beads to make the markers shown but you can use any quantity and combination that you like)
  • Head-pins (1 per marker)

Supplies for making stitch-markers

Start by threading your beads onto the head-pin. I started with a seed bead because the hole in my larger bead was large enough for the head-pin to slip straight through.

IMG_0943

IMG_0944

Once you have the beads threaded, bend the head-pin into a loop and thread the end back into the last bead that you threaded. You can do this in whatever way you like. I don’t mind if my loops aren’t perfect arcs so I just bend them around my thumb. You might prefer to use a pen or rod.

IMG_0947

IMG_0945

You now have a finished stitch-marker ready to use on your next project.
A finished marker

Have fun experimenting with different shapes and colours of beads.