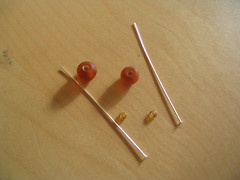
You will need:
- Beads (I used 2 glass beads and two seed beads to make the markers shown but you can use any quantity and combination that you like)
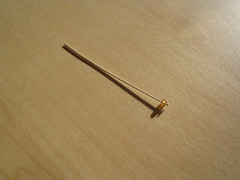
- Head-pins (1 per marker)
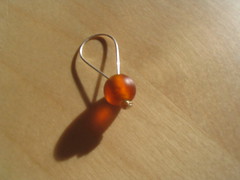
Start by threading your beads onto the head-pin. I started with a seed bead because the hole in my larger bead was large enough for the head-pin to slip straight through.
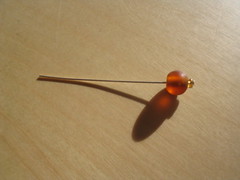
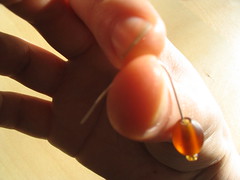
Once you have the beads threaded, bend the head-pin into a loop and thread the end back into the last bead that you threaded. You can do this in whatever way you like. I don’t mind if my loops aren’t perfect arcs so I just bend them around my thumb. You might prefer to use a pen or rod.
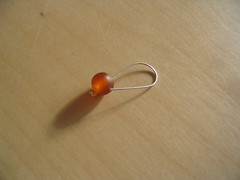
You now have a finished stitch-marker ready to use on your next project.
Have fun experimenting with different shapes and colours of beads.